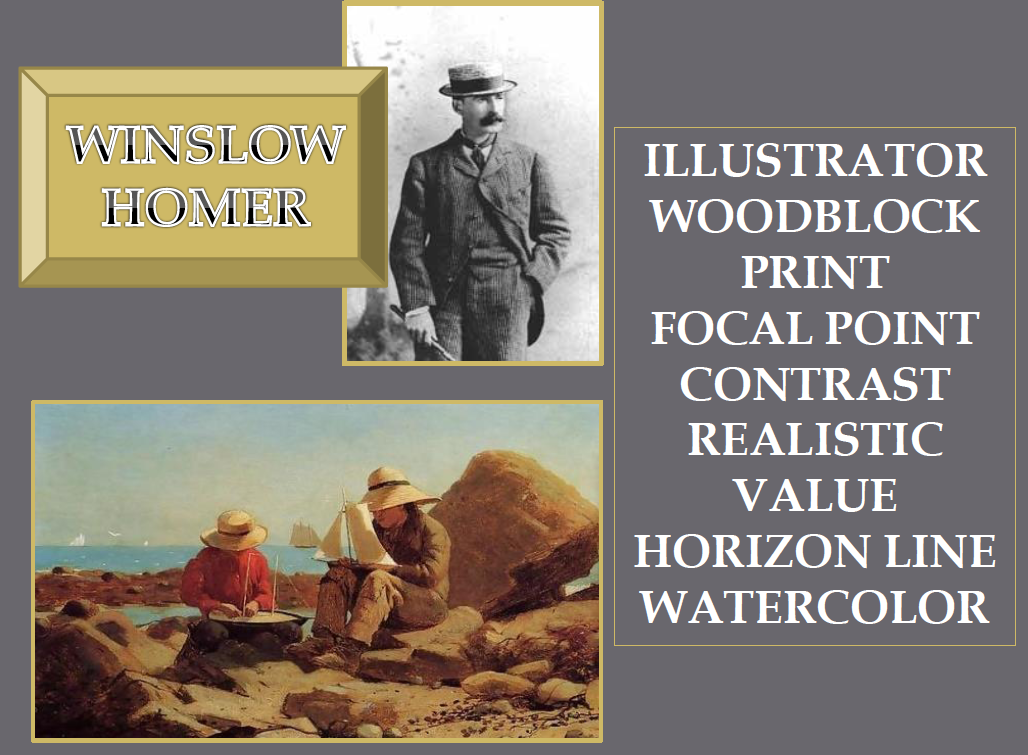
Winslow Homer was an American artist who lived on the East Coast in the late 1800’s. He valued his privacy, and found that the warning sign, “Beware of snakes and mice,” posted on his studio door helped keep tourists and snoopers at bay.
Meet the Masters students learn how Homer fooled his own father, who planned to visit his studio. Homer posted a sign on the door that said “Coal Bin” so his father did not even knock! Now students are interested in this American artist and ready to learn more about what made him so famous.
Step 1: Introducing the Master
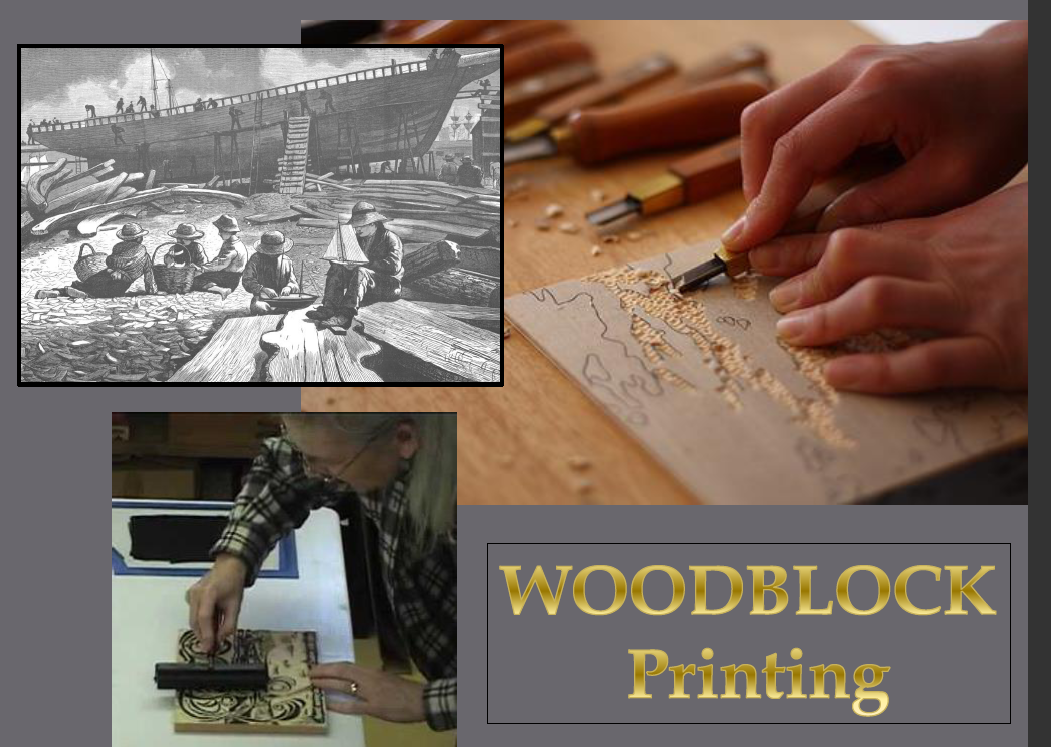
The Meet the Masters lesson begins with a multi-media assembly using PowerPoint slides to learn about Winslow Homer’s life. He began his artistic life as an Illustrator for newspapers. Students learn how illustrations were used in newspapers before the invention of the camera. Homer sketched historical events of his time, like Abraham Lincoln’s Presidential Inauguration. He also illustrated the Civil War, sketching scenes while watching them happen. Then he started the time-consuming process of drawing and whittling the sketch on a block of wood. The wood was inked and pressed onto paper, resulting in a Woodblock Print. Students examine a slide of a close-up view to see the hundreds of lines Homer drew on his block of wood.

As the slide show continues, students view exciting ocean and shipwreck paintings to see examples of Homer’s use of color to create a Focal Point. They also discover his use of Contrast by placing light against dark, and Value to define form and create spatial illusions. You can see how MTM introduces and illustrates vocabulary in a meaningful and memorable way.

Step 2: Learning From the Master
Back in the classroom, children learn how to create their own color value from this master artist. They are reminded that value is the use of light and dark in art, the scale of one color as it transforms from lightest to darkest. On their worksheets, beginner students use one crayon to color sailboats, some dark and some light, leaving some areas white. Advanced students are reminded of Homer’s use of lines on his woodblock prints. He made black by drawing lines very close together and lighter hues by using fewer lines. Students create their own value scale using lines. Then they show contrast on a beach scene by putting different values next to each other. Now students are ready for the real fun.
Step 3: Working With the Master
Beginner and Intermediate students receive gray, black and white construction paper, and white and black oil pastels. How can they create a beautiful ocean sailboat scene with just black and white? Using Homer’s values! Students begin by creating a gray sky and black ocean. Using the white oil pastel crayon, they fill the black ocean below the Horizon Line with a big value chart. Is that the setting sun or the rising moon reflecting off the ocean? Students select dawn or dusk by how much white they apply in their contrast. Using the three colors of construction paper, they cut out a sailboat and sails, then tear and crumble shapes for rocks. Students have made their “oceans of value” look realistic by creating depth, distance, shadows and highlights following Homer’s examples of value.
Advanced students create a beautiful Homer-style beach scene using only value. They place tracing paper over a laminated drawing of a girl on the beach. With a soft-lead pencil, they use the side of the lead to make a value scale. Students concentrate on making values from lines. Beginning lightly, they work towards the darker values. As a finishing touch, a few of the lines are traced to show edges and preserve realism. They are surprised to create a beautiful outdoor scene using only the side of a pencil and Homer’s values. What a memorable way to relive turn-of-the-century Americana and learn about Homer’s superb mastery of value.
When you paint, try to put down exactly what you see. Whatever else you have to offer will come out anyway. -Winslow Homer
Learn more about the Homer art curriculum and see student artwork examples.
