I paint self-portraits because I am so often alone and because I am the person I know best.
~ Frida Kahlo
Frida Kahlo was a Mexican painter who recounted her life through soulful self-portraits. Devoted to her Mexican heritage, her paintings reflected the cultural dress, architecture, plants, animals and fruit of her beloved country. Meet the Masters introduces elementary students to this creative artist’s life and paintings, and then invites students to create their own picturesque still life.
Step 1: Introducing the Master
Frida Kahlo was born in a small town in Mexico in 1907. Struck with polio at age six, her father spent years helping her recuperate. When she was 18, she was severely injured when her school bus was hit by a streetcar. Bedridden for several months, her father was instrumental in her recovery once again, buying her art supplies and encouraging her to draw and paint.
 Students enjoy seeing photographs and paintings while hearing stories about Kahlo’s life. They learn that she traveled throughout the United States and Europe while her husband, artist Diego Rivera, painted murals. While viewing Kahlo’s paintings, students notice the texture of a monkey’s fur in one and the background and symbolism of the jungle-like green leaves in another. Kahlo’s life experiences are depicted in her paintings – her injury had changed her life and shaped her art. More than half of her paintings were self-portraits, in which she showed the physical and emotional pain in her life. Finally, students are introduced to her still life portraits with a painting of her favorite parrot, Bonito, sitting behind a bowl of luscious fruit. Students notice how the fruit is grouped together and overlapping in this composition, providing realism and depth.
Step 2: Learning From the Master
Now that the students have been introduced to our artist, it’s time to practice the techniques that made Frida Kahlo a master painter. Students practice drawing the components of a still life by looking closely at each line and shape and then copying them. They examine drawings of fruit and then fill their paper with the shapes of whole and cut pineapple, watermelon, grapes and oranges. They create texture by practicing soft fluffy bird feathers and smooth flat leaves. Now they are ready to create their own still life masterpiece.

Step 3: Working With the Master
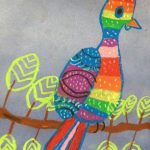
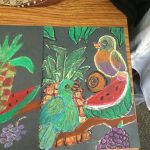
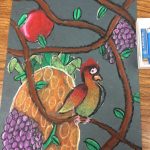
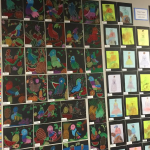
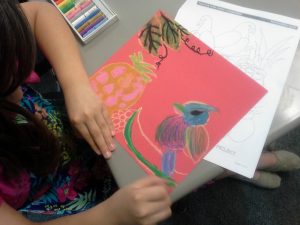
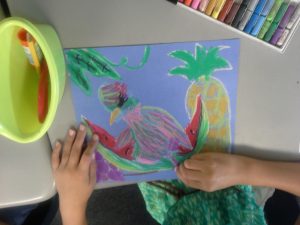
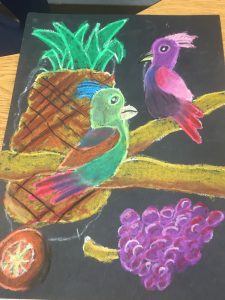
The teacher reviews the concepts and vocabulary words presented in the introduction while students choose bright red, yellow or blue construction paper for their project. After carefully studying the line drawing provided in their Learning Packet, students select a bird and several fruits to inspire their composition. Beginning with a focal point, the students determine the location for the bird’s eye and draw a circle to form the outside rim. With each step, students study the lines of the drawing and then draw simple lines on their composition. They balance the composition by adding two or three fruits, some cut open and some remain whole. Students begin adding color to their line drawing with oil pastels. They build layers of color and texture with their pastels, adding depth with each stroke. When finished, they add the Artist Profile Strip to the back of their project, with a brief description of the artist, technique and media used. Admiring the rich textures and deep colors, the students are amazed at their stunningly beautiful creations. In her native language, Frida Kahlo would say, “¡Magnifico!


