Georgia O’Keeffe saw shapes in her mind. She is quoted as saying,
“I found I could say things with color and shapes that I couldn’t say any other way – things I had no words for.”
A pioneer of modern American art, O’Keeffe grew up on a farm in Wisconsin, where she gained an appreciation for the surrounding landscape. She is known throughout the world for her picturesque landscapes, dramatic city scenes, and, of course, her distinctly beautiful flowers.
Introducing the Master
Meet the Masters brings O’Keeffe’s colors and shapes to life for elementary school students. The lesson begins as students hear a recording of O’Keeffe talking about her art and inspiration. She tells the story of studying a large floral painting at a museum in New York. It was beautiful, but she was inspired to paint a small portion of the flower very large so people would notice its magnificence. Students imagine they are photographers with a powerful zoom lens, bringing them closer and closer to the flower, capturing the beauty of the veins and petals. The viewer sees less and less of the flower as it is scaled to a larger size. Students learn about color values, and how O’Keeffe used value to make colors vary from light to dark. Next, students critique O’Keeffe’s New Mexico landscapes as they learn about additional art elements she famously used in her work – abstract, shade, tint and contrast.
Learning From the Master
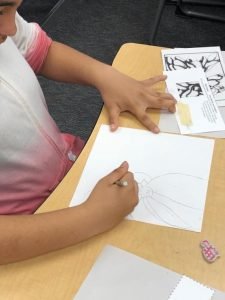
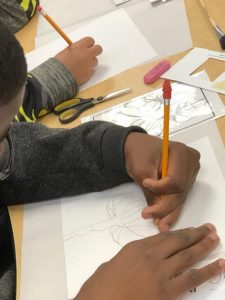
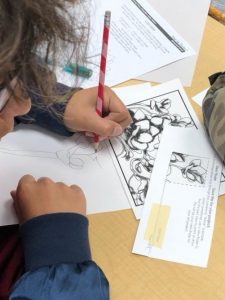
Back in the classroom, students are ready to apply what they learned about O’Keeffe’s painting style to worksheets designed for their age-level. They begin with color values, balancing light and dark areas of a flower using tints and shades of their selected color. Adding a light layer of white to a colored flower tints it, while adding black can shade it. Students enlarge flowers using the same scaling method that O’Keeffe used, studying the details of a flower and scaling them up to very large sizes. In another worksheet, adding different types of strokes to leaves helps students learn that a drawing will be more realistic if they follow the direction of leaf’s veins when adding color. Using only one crayon, they learn to use heavy pressure to create darker values and light pressure to create light values. Adding white for tinting and black for shading creates a dramatic impact and students are excited to get started on the art project.
Working With the Master
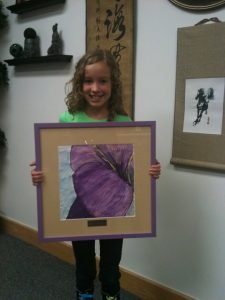
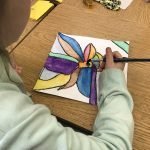
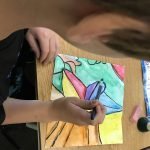
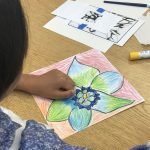
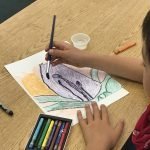
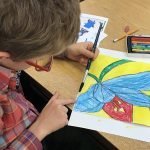
Now students are ready to scale up and paint their own beautiful leaf or flower. Students use their “view finder” to select an interesting arrangement of a flower print, looking for a balance of light and dark areas. Students scale up their selection using techniques practiced with the worksheets, and lightly sketch the lines on their art paper. Payons (paint crayons) are used like regular crayons. Students color different sections of the drawing, pressing hard for dark values and contrasting light colors with dark. Outlining with a black crayon emphasizes the shapes and keeps the colors separate in the next step. Now students add water to the colors, magically turning the crayon picture into a soft, sweeping watercolor masterpiece. Our budding artists are amazed at their beautiful creations.
“I’ll paint it big and they will be surprised into taking the time to look at it-I will make even busy New Yorkers take time to see what I see of flowers.” ~ Georgia O’Keeffe
Learn more about our Georgia O’Keeffe art lesson.


